

How to Make a Quilted Cosmetic Bag
Jul 15, 2024
Leave a message
Cosmetic bags are essential accessories for organizing and carrying personal care items, and quilted cosmetic bags add both style and functionality to this necessity. This article explores the appeal of quilted designs, focusing on floral patterns and how to create your own quilted cosmetic bag using a pattern.
What is Quilted Cosmetic Bag
A Quilted Cosmetic Bag is a stylish and functional accessory designed to store makeup and toiletries. It features a unique quilted design, created by stitching together layers of fabric with padding in between. This technique not only adds a textured look but also provides extra protection for delicate items inside. These bags come in various sizes and shapes, often with zipper closures for secure storage. They are popular for their aesthetic appeal, offering patterns like geometric shapes or intricate floral motifs that add sophistication to your beauty essentials.
Ideal for both travel and everyday use, quilted cosmetic bags are versatile organizers. They can accommodate a range of items from cosmetics and skincare products to personal toiletries. The quilted construction offers durability and ensures items are securely held in place. Whether you're looking to add a touch of elegance to your travel accessories or seeking a practical solution for daily makeup storage, a quilted cosmetic bag combines style with functionality, making it a staple in many beauty routines.
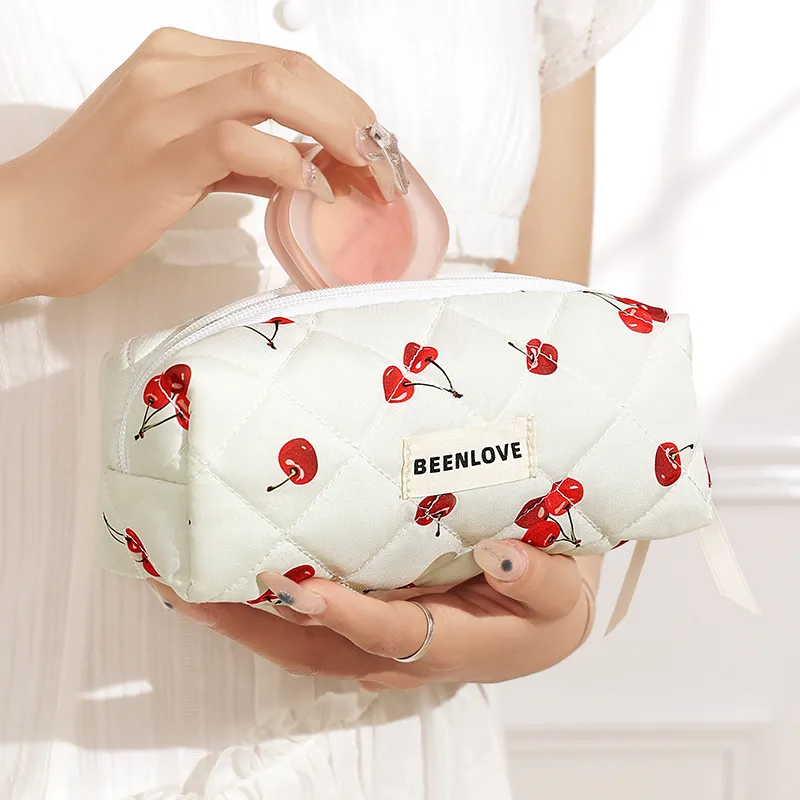
Quilted Cosmetic Bag Pattern: Floral Quilted Cosmetic Bag
Patterns for quilted cosmetic bags range from simple geometric shapes to elaborate floral motifs. Choosing the right pattern is crucial for achieving the desired aesthetic and functionality. When selecting a pattern, consider the size and layout of the bag, as well as how the pattern complements the overall design and your personal style.
Among the variety of quilted cosmetic bag patterns, floral patterns stand out for their vibrant and elegant appearance. These bags often showcase intricate floral designs that add a touch of sophistication and artistry. Floral patterns can vary from delicate, subtle prints to bold, eye-catching arrangements, providing options for every taste and occasion.
Floral quilted cosmetic bags are popular choices for those seeking a blend of practicality and feminine charm in their accessories. The beauty of the floral motifs not only enhances the visual appeal of the bag but also makes it a fashionable statement piece. Whether used for daily makeup essentials or as a stylish travel companion, a floral quilted cosmetic bag offers both functionality and elegance, making it a versatile and timeless addition to any accessory collection.
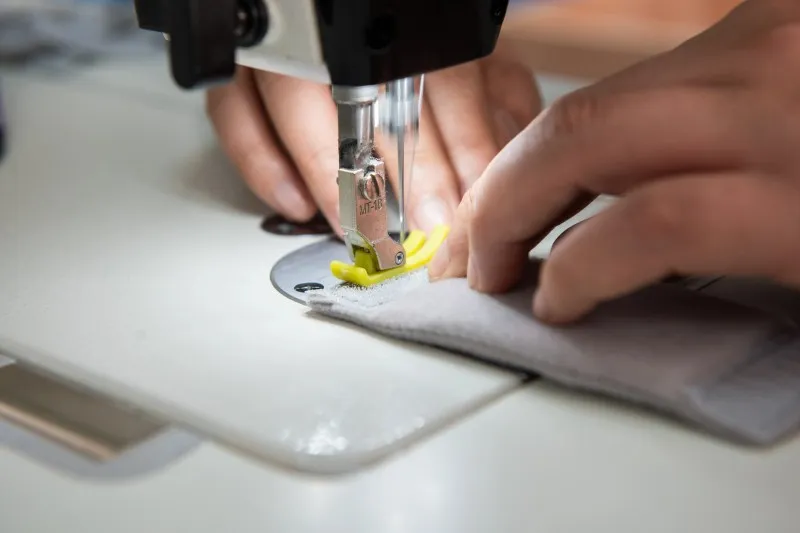
Step-by-step Guide to Make a Quilted Cosmetic Bag
Materials and Tools
1. Fabric:
- Outer fabric (cotton or other sturdy fabric)
- Lining fabric (lightweight cotton or nylon)
- Quilting batting (cotton or polyester batting)
2. Zipper: Slightly longer than the opening of the cosmetic bag.
3. Sewing thread: Matching the color of the fabric.
4. Sewing machine: With quilting needles and general-purpose needles.
5. Other tools: Scissors, rotary cutter, ruler, iron, ironing board, pins, or clips.
Steps
Step 1: Prepare the Materials
1. Cut the fabric and batting:
- Outer fabric: Two rectangles (size according to the desired bag size, e.g., 25cm x 20cm)
- Lining fabric: Two rectangles of the same size as the outer fabric
- Batting: Two rectangles of the same size as the outer fabric
Step 2: Make the Quilted Fabric
1. Layer the fabrics:
- Layer one piece of outer fabric, batting, and one piece of lining fabric together (outer fabric on top, batting in the middle, lining on the bottom).
2. Secure the layers:
- Use pins or clips to secure the three layers to prevent shifting during quilting.
3. Quilting:
- Choose a suitable quilting needle and thread for your sewing machine.
- Quilt lines can be parallel, crosshatch, or any other pattern you prefer.
- Sew parallel lines about 2-3cm apart across the entire fabric piece.
4. Repeat:
- Repeat the above steps to make the other piece of quilted fabric.
Step 3: Attach the Zipper
1. Place the zipper:
- Place the zipper face down along the short edge of one quilted fabric piece, with the right side of the zipper against the right side of the fabric.
- Place a piece of lining fabric on top of the zipper, right side down.
2. Sew the zipper:
- Using a zipper foot on your sewing machine, sew along the edge of the zipper, ensuring all three layers (quilted fabric, zipper, lining) are sewn together.
3. Repeat:
- Repeat the process to sew the other side of the zipper to the other quilted fabric piece and lining.
Step 4: Assemble the Cosmetic Bag
1. Sew the sides:
- Open the zipper halfway. Align the right sides of the outer fabric pieces together and the right sides of the lining pieces together.
- Pin or clip the layers in place.
2. Sewing:
- Using a sewing machine, sew around the perimeter of the outer fabric and lining, leaving a small opening in the lining for turning.
3. Trim corners:
- Trim the corners to reduce bulk, being careful not to cut the stitching.
4. Turn the bag:
- Turn the bag right side out through the opening in the lining.
- Sew the opening in the lining closed, either by hand or with a sewing machine.
5. Shape the bag:
- Gently press the bag with an iron to shape it nicely.
6. Finish the zipper:
- Ensure the zipper slides smoothly by adjusting and moving it back and forth several times.
And there you have it, a beautiful Quilted Cosmetic Bag! Happy sewing!
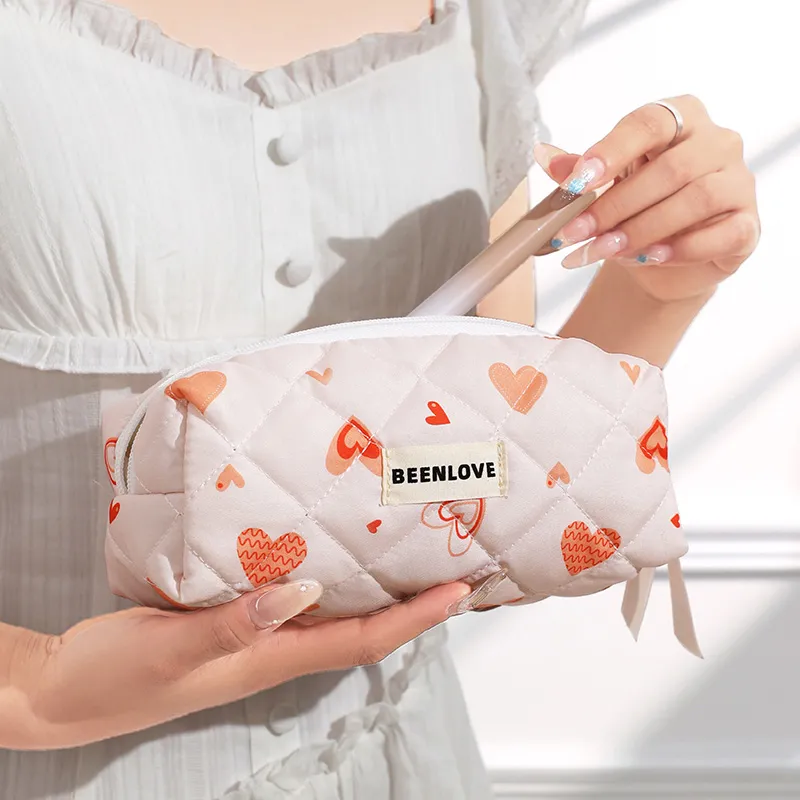
Conclusion
Quilted cosmetic bags offer a blend of practicality and style, making them a popular choice for both everyday use and travel. Whether you prefer a ready-made floral quilted bag or enjoy crafting one yourself, these accessories add a touch of elegance to your beauty routine. Embrace your creativity and personal style when choosing or making your quilted cosmetic bag.